|
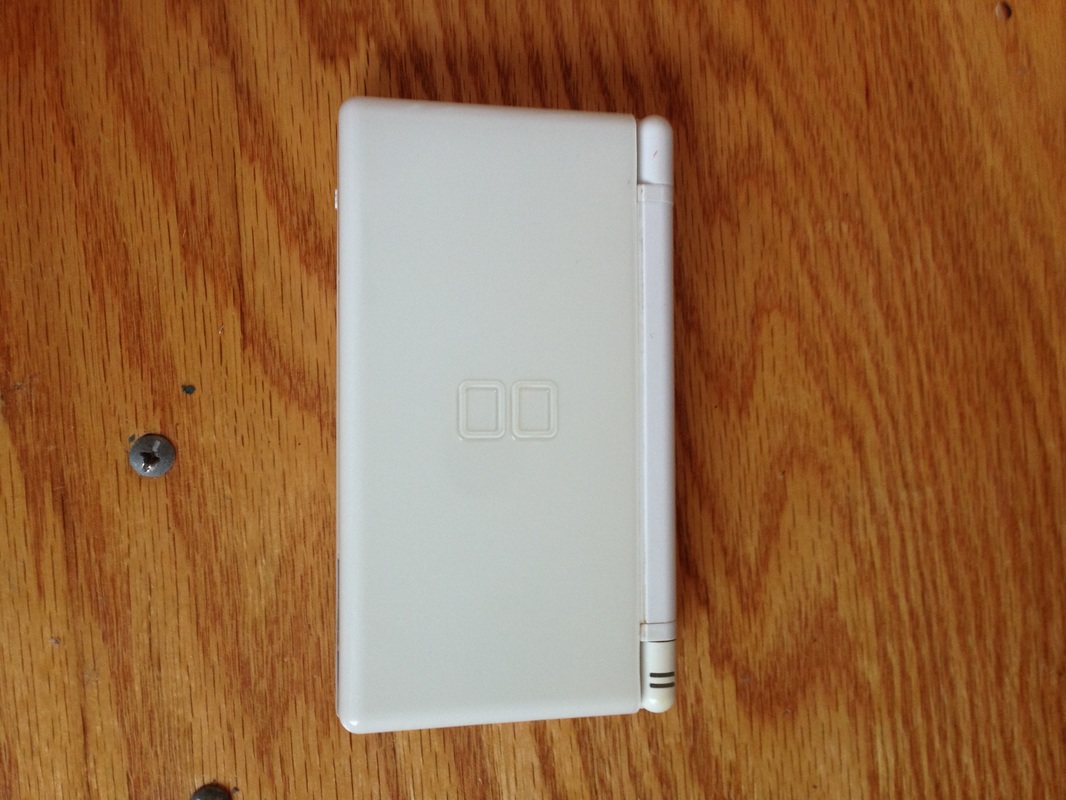
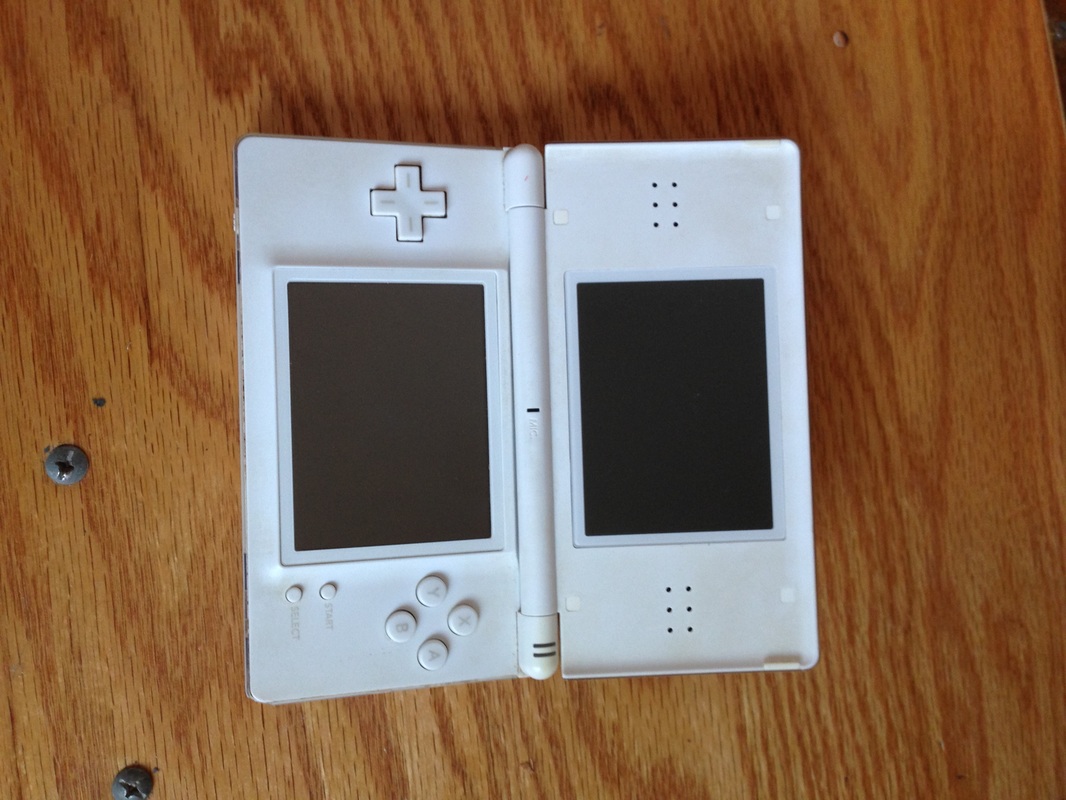
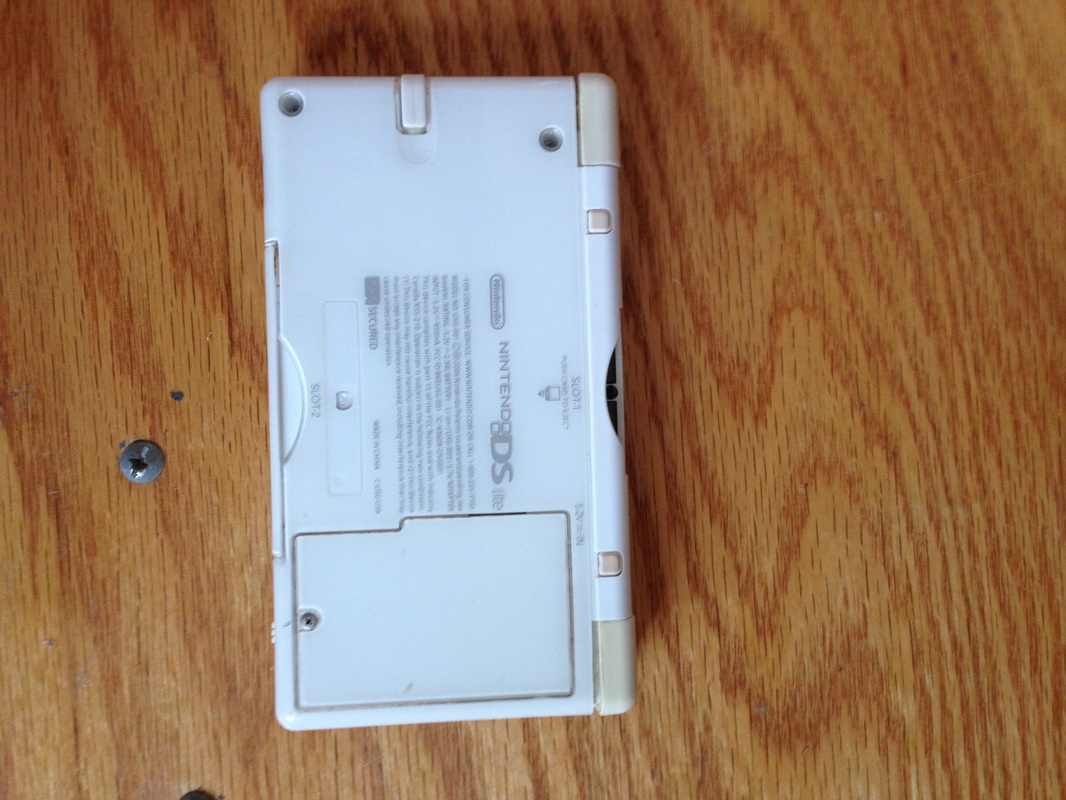
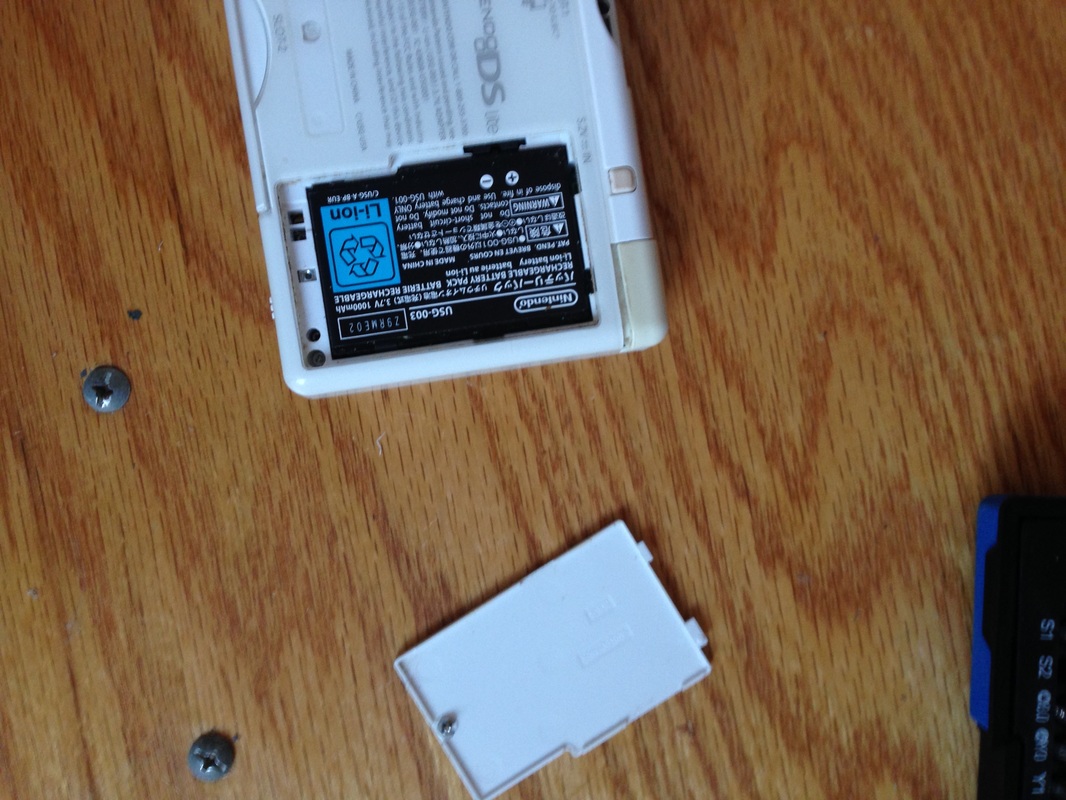
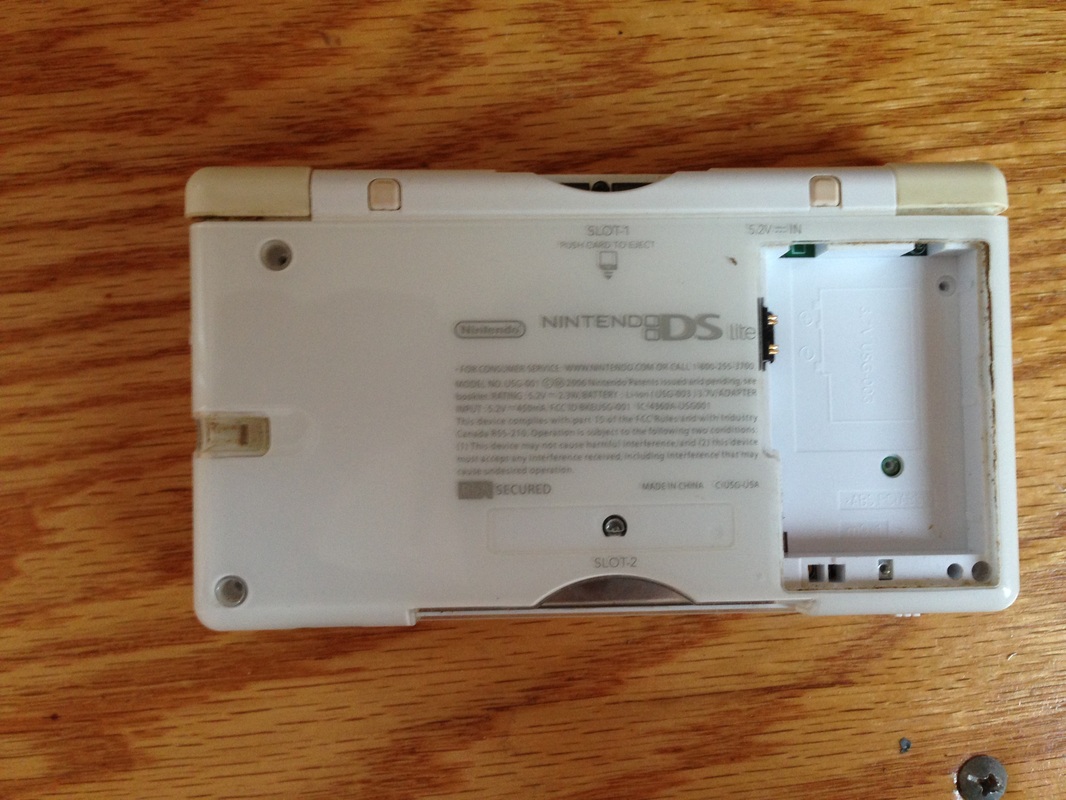
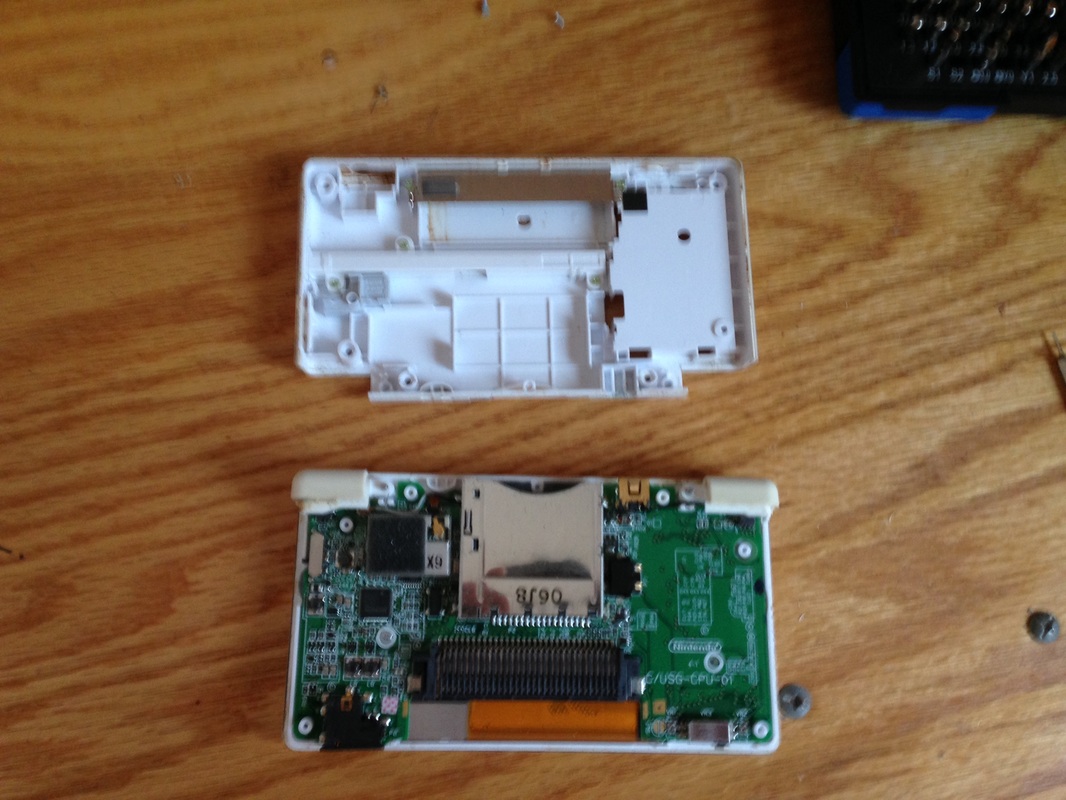
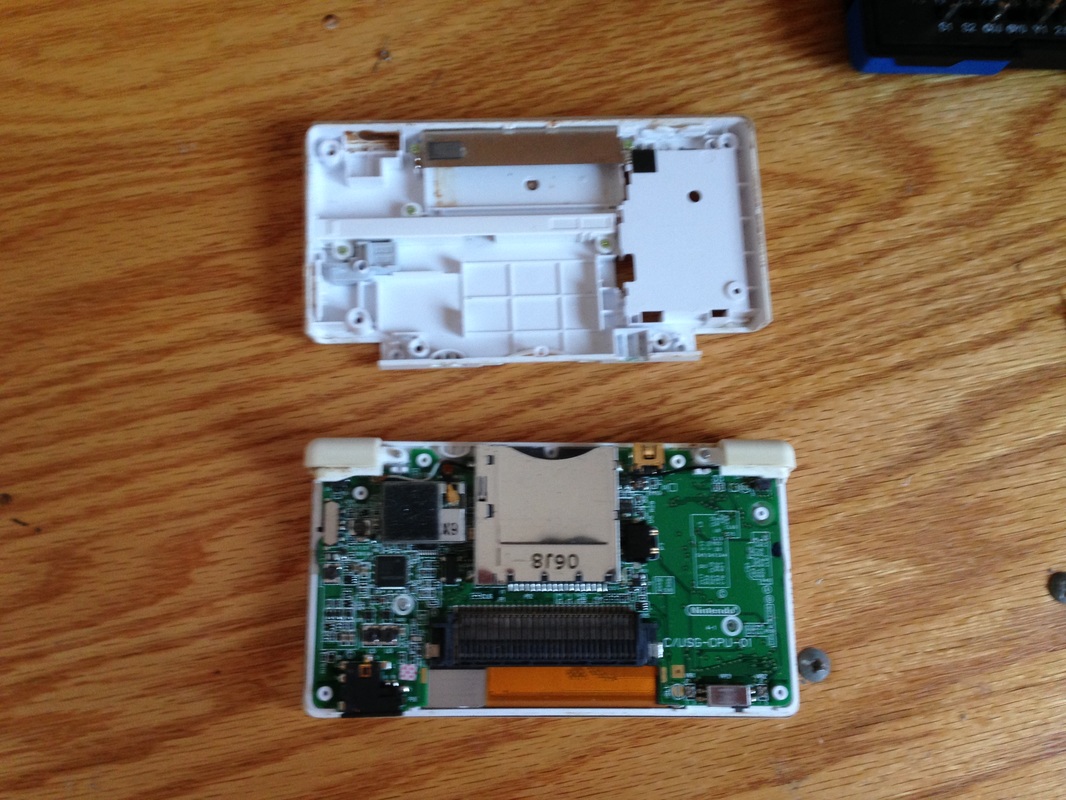
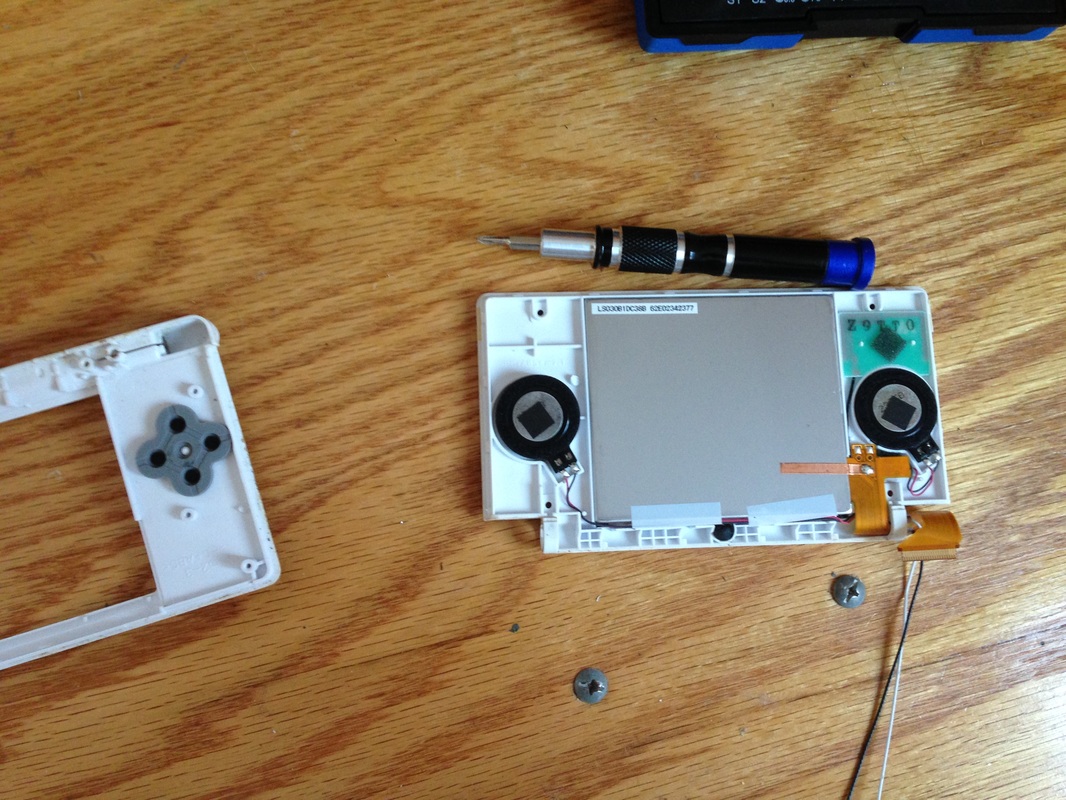
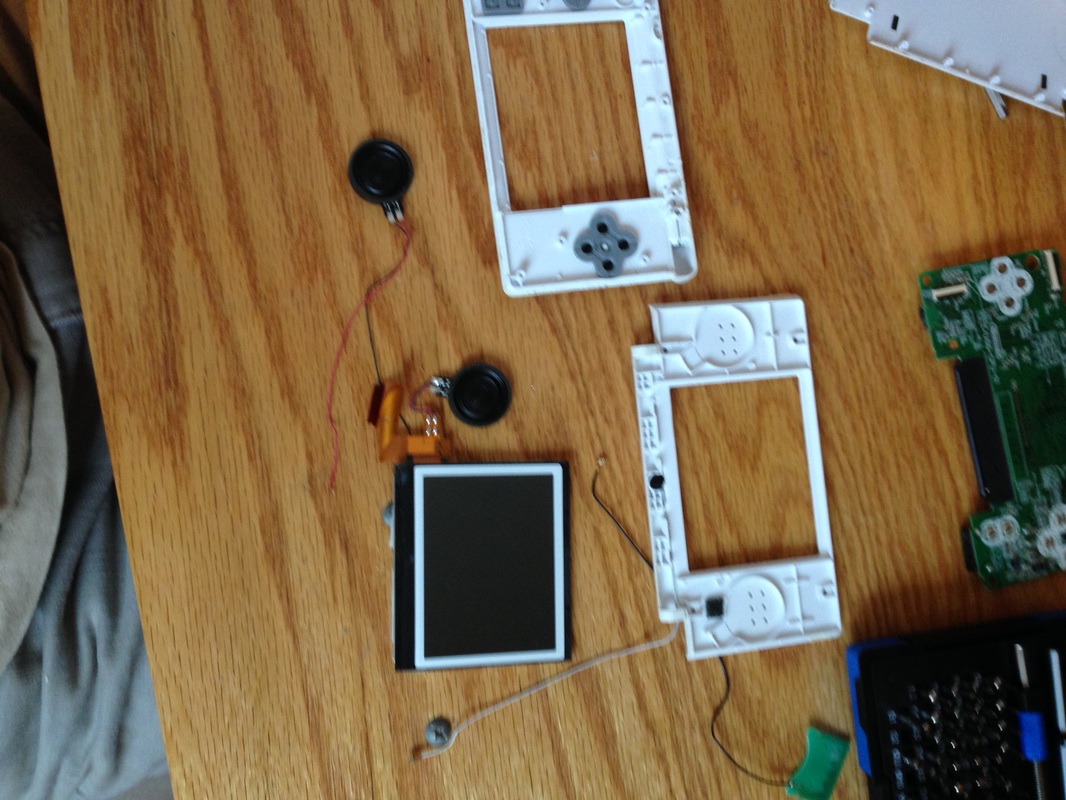
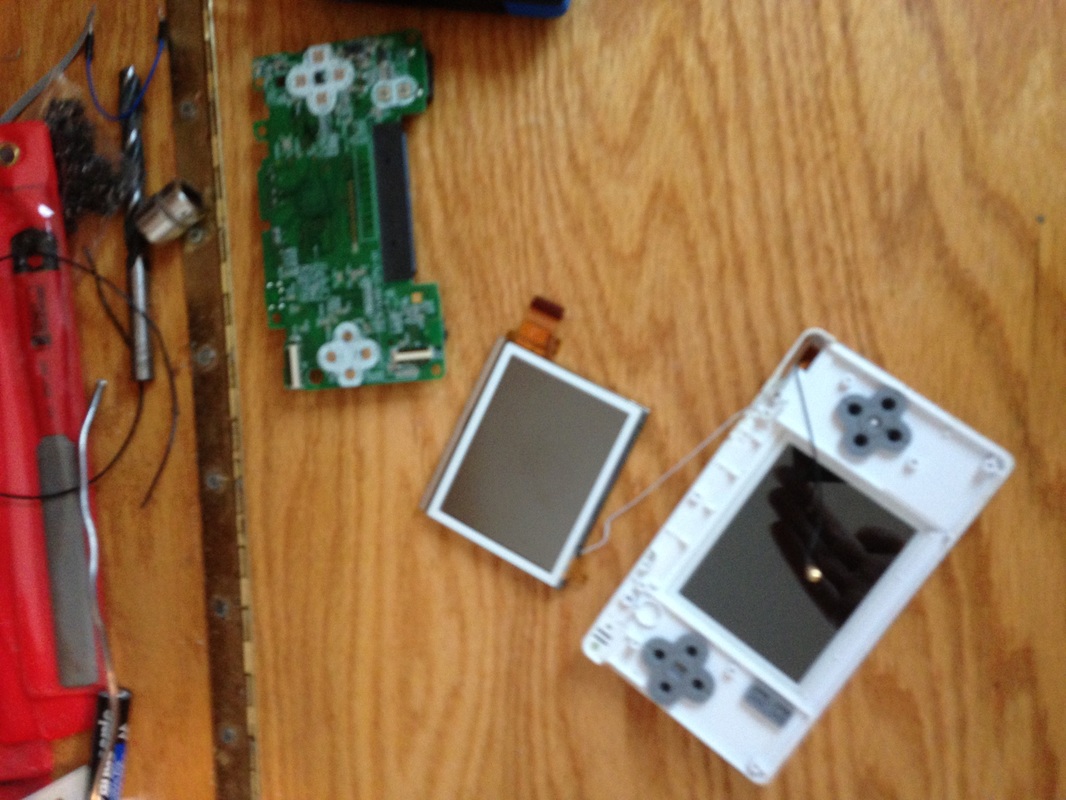
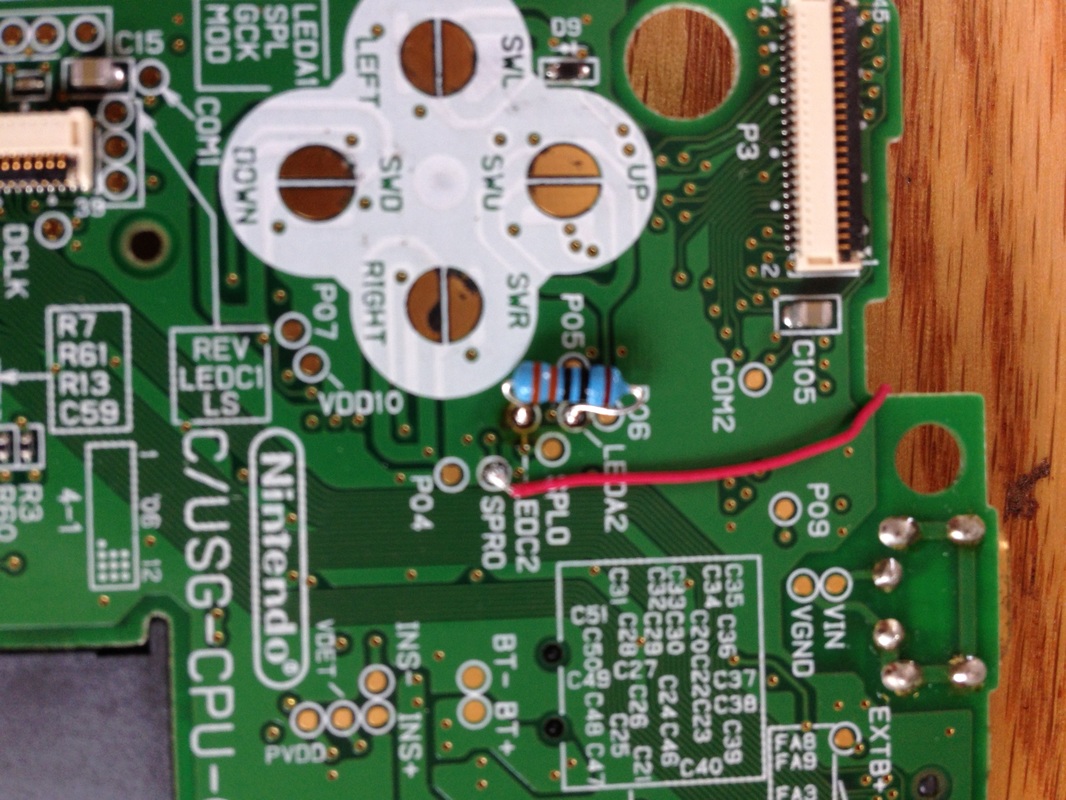
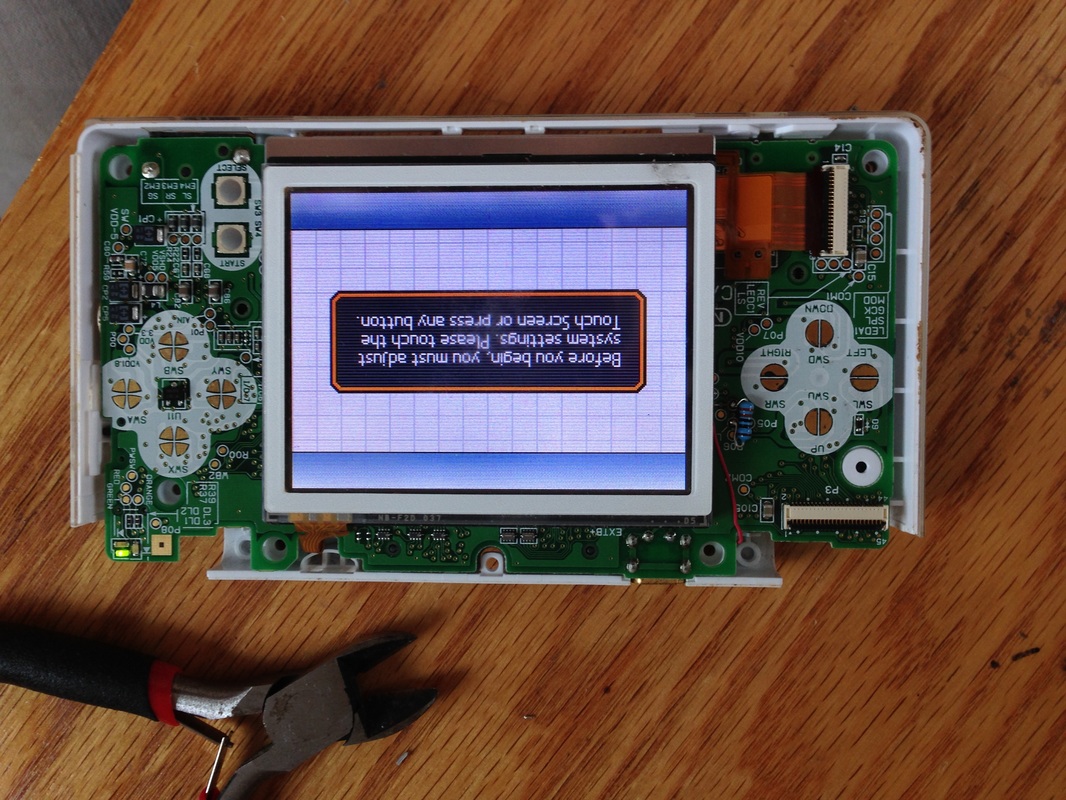
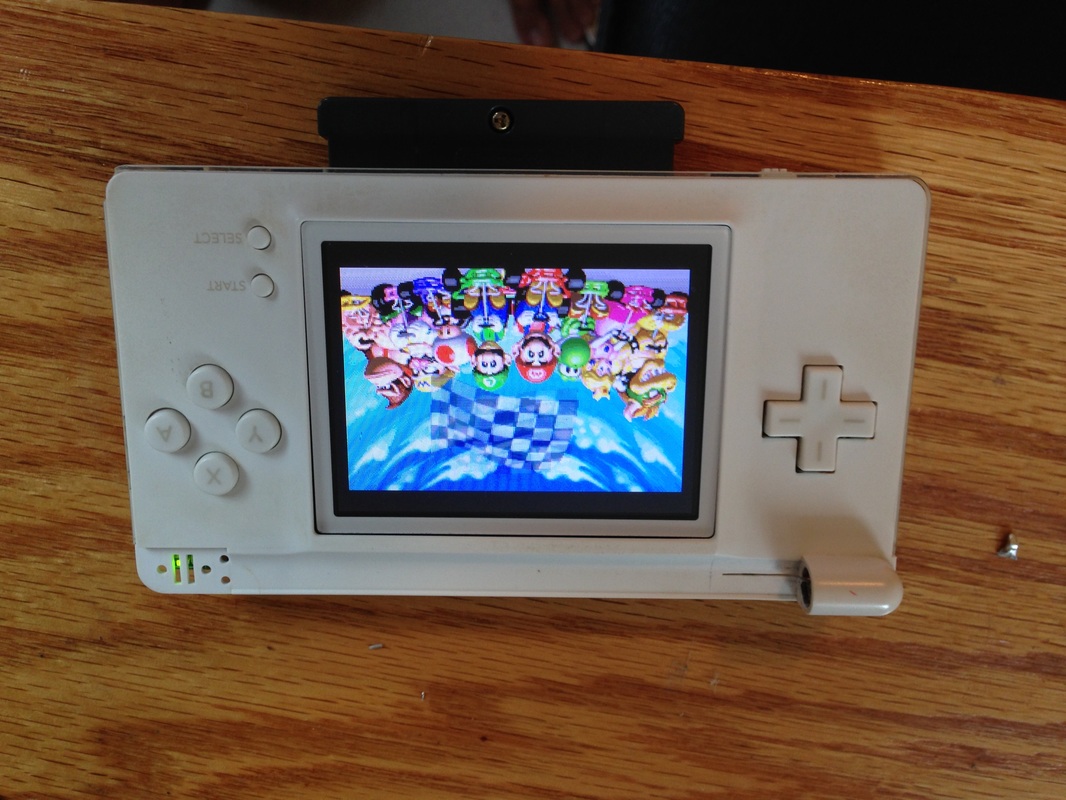
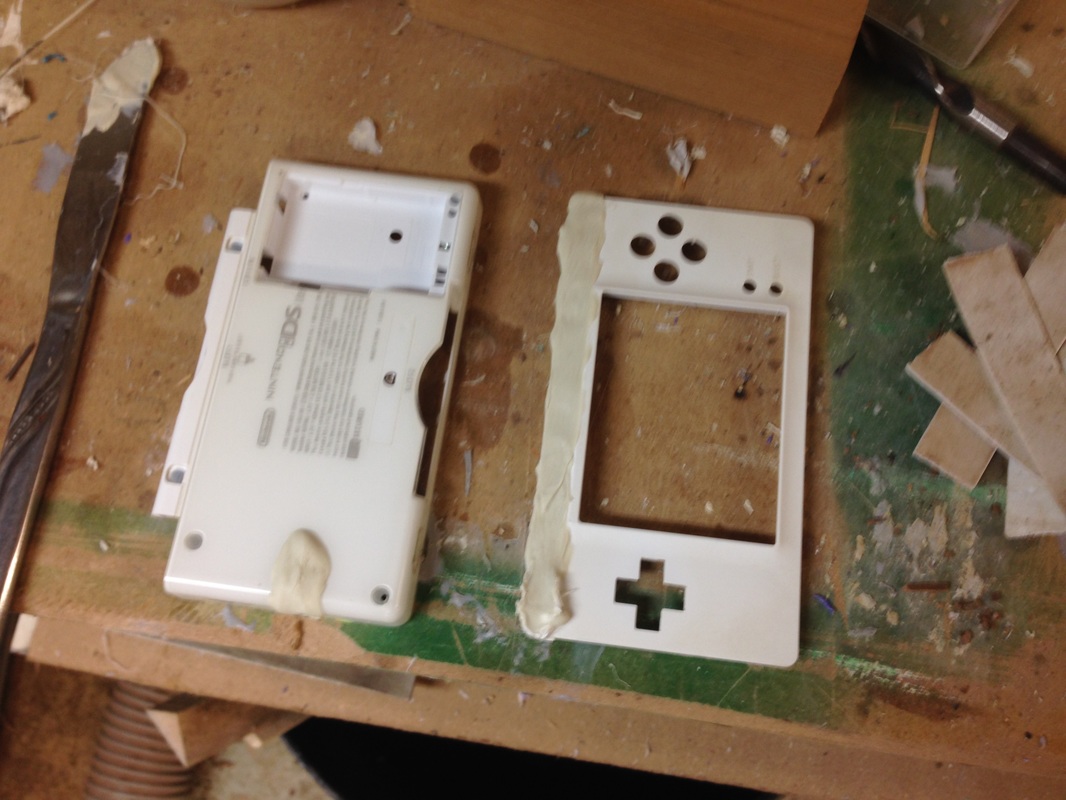
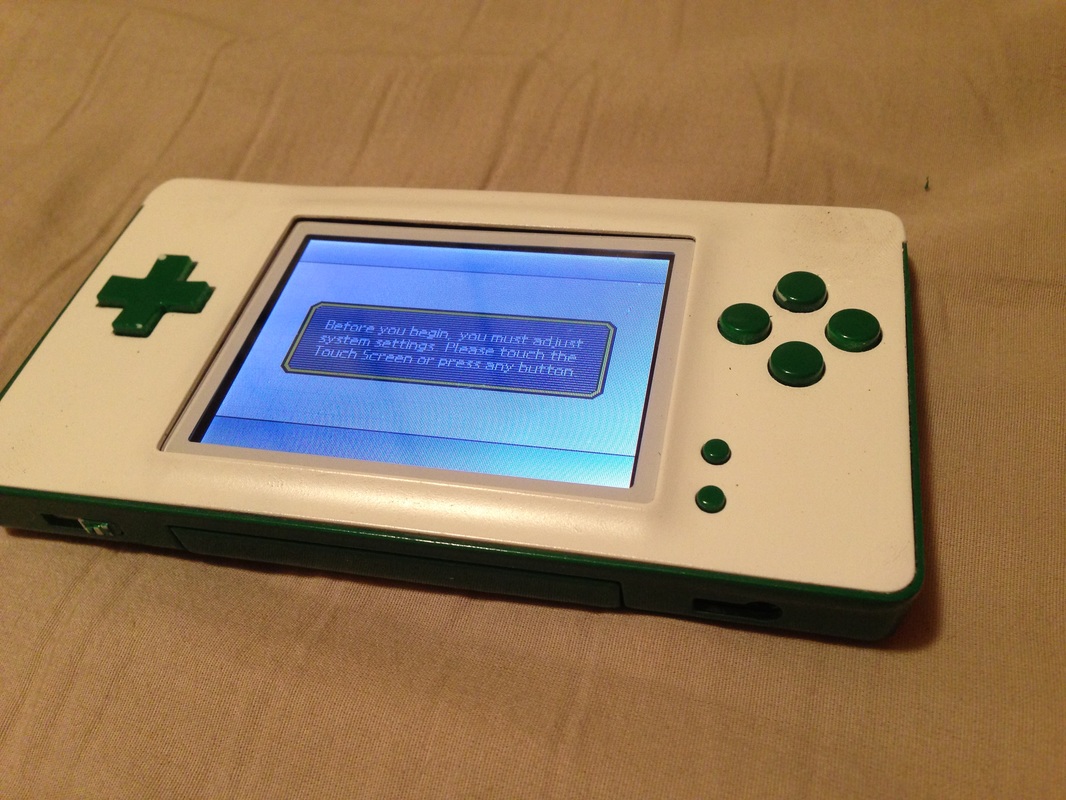
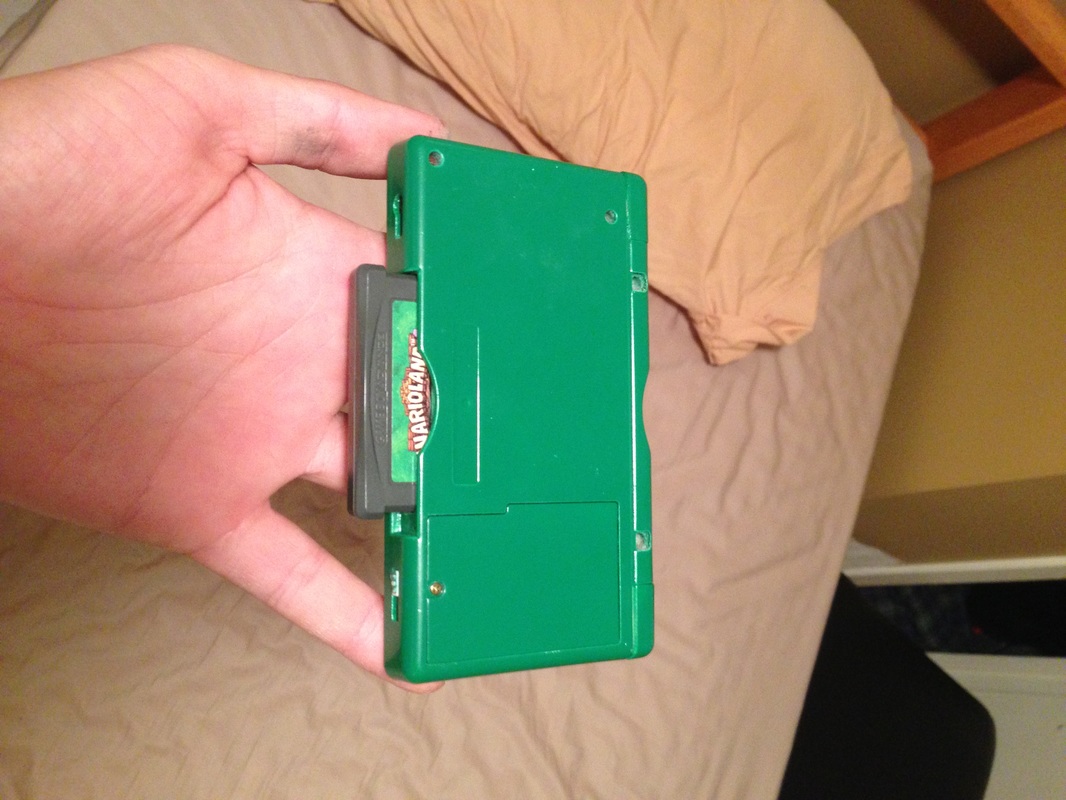
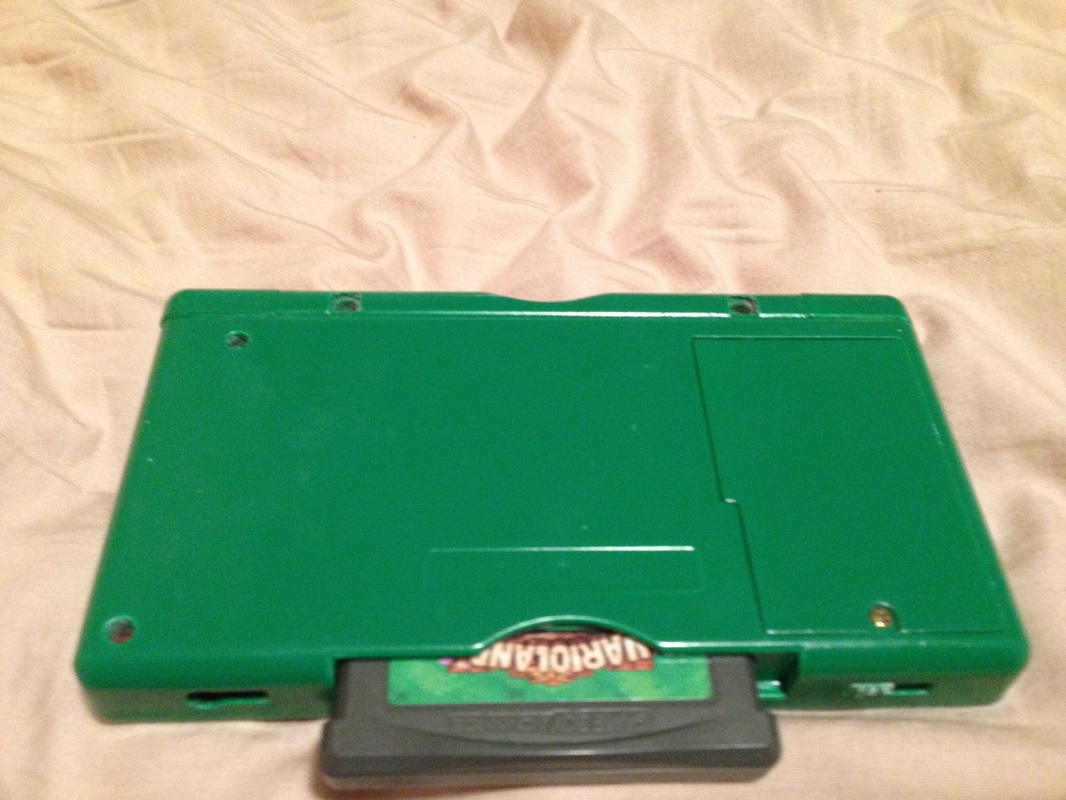
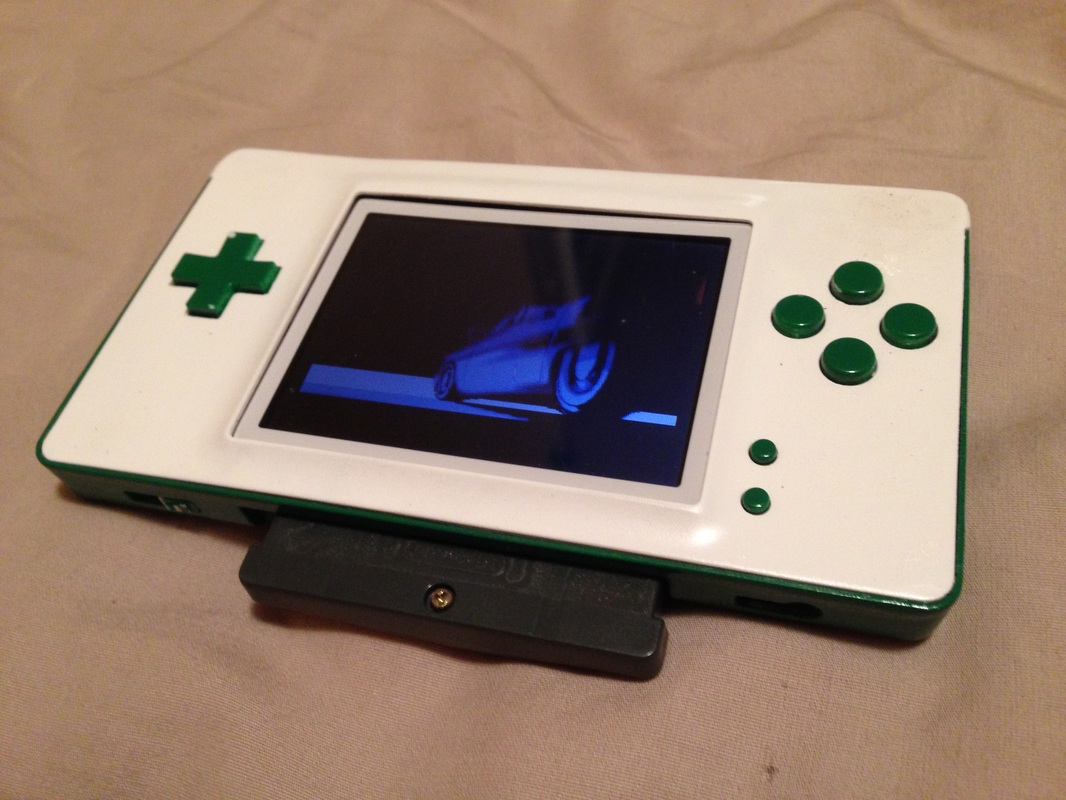
Over the last break I had from university, I built a wooden ocarina. It has 6 holes, and sounds pretty cool. I made it out of douglas fir, and wenge. I made this short video to show you it being played, I hope you enjoy! I have built another GameBoy mod! This one is a DS Lite mod. Basically, I took off the top screen, I had to add a resistor to make the DS think that the top screen was still on. This mod is more of a nostalgic type mod; I really like GameBoy's. also, I want to add an r4 chip to allow it to play emulated games. I am planning to re-do the paint since it got messed up while it was drying, I just haven't had time for that yet. This mod took one day to complete, it was fairly easy, and could be completed much quicker if done again. I am sort of planning to do the same with a DSI XL and rely on emulation for game play, this would let you have a much larger screen to play with. my next step in this is repainting it, I want to do either the same colour scheme, or I might consider painting it with a SFC colour scheme.  I have a "Quick" mod that I did to free up space on my desk at school. It was quick, but that is only because it went together well, and isn't 100% finished. What I did was turn my laptop into an all in one unit. It was sitting on my desk being used with an external keyboard and mouse for the longest time, and I have a tiny netbook to take to class anyway, so I decided to turn it into an all in one unit. I basically took the screen, and laid it flat on the keyboard section, it was more detailed than that, but like I said, it isn't 100% done, I want to co casework back home to make it permanent, and give it a stand/feet. so far its functional though, and I am pleased with it. Here are some pictures of it. I forgot to take pictures while building it, but when I do the case work, I will more properly document it.  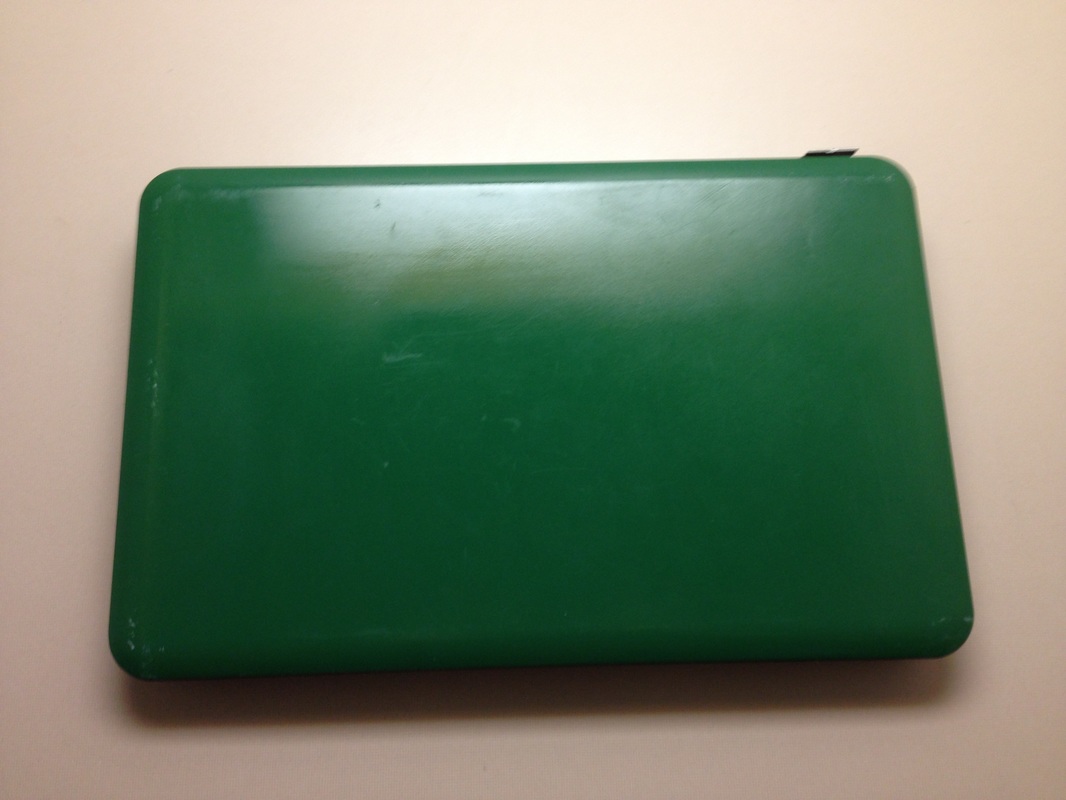 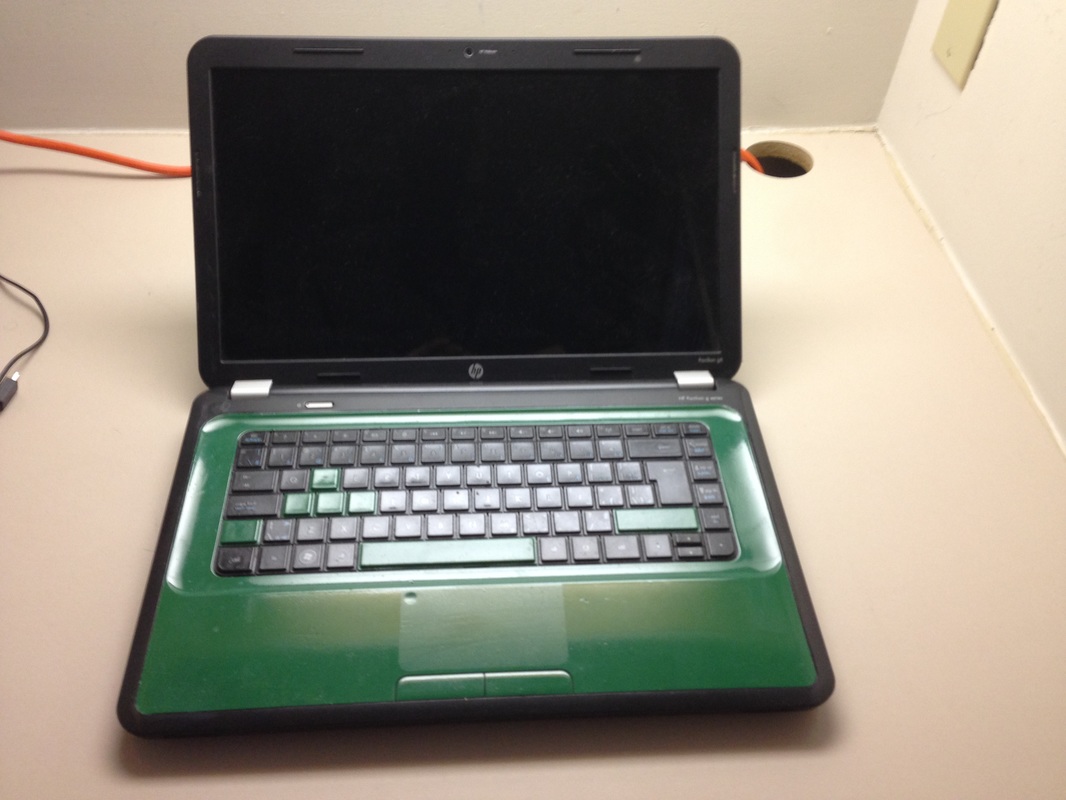 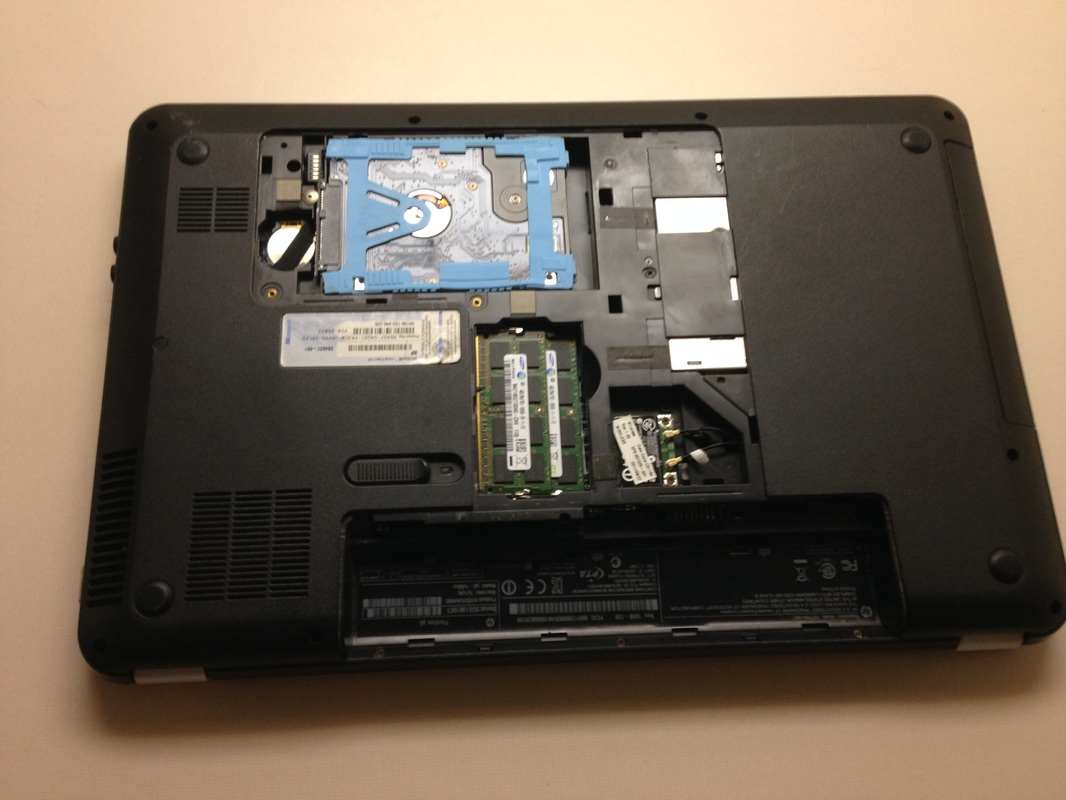 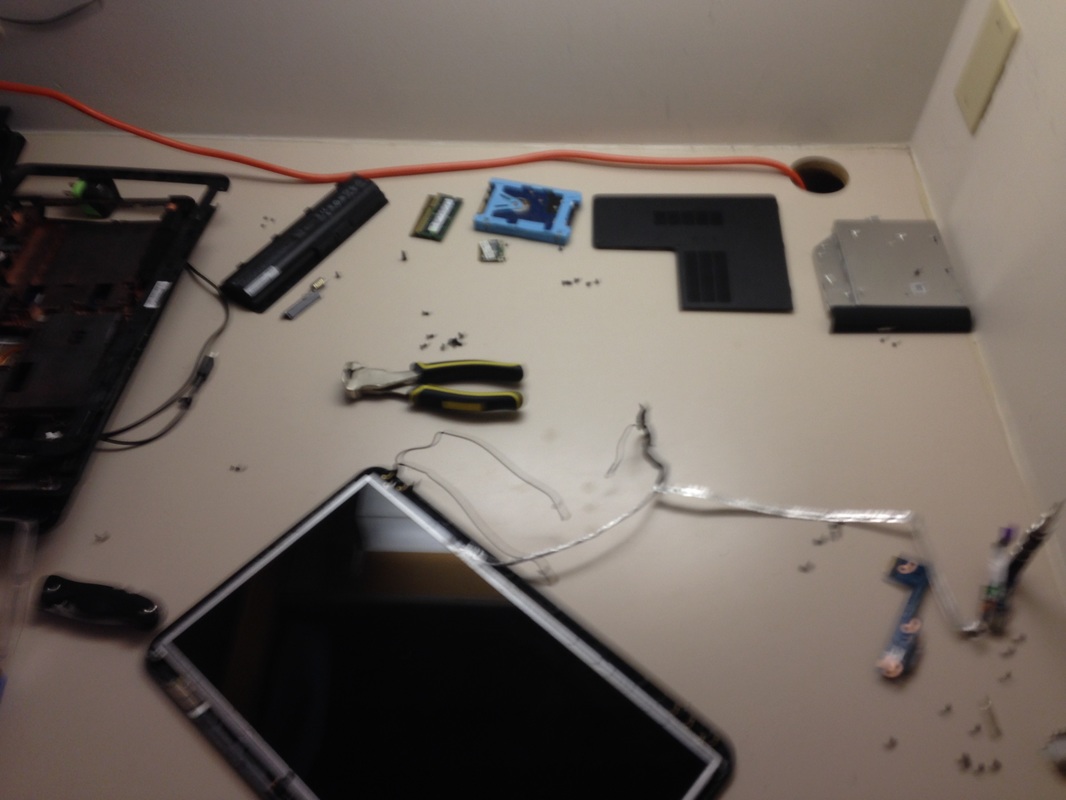 I have finally made a video for my Wireless NES controller, as seen in http://modpurist.ca/mod-purist---blog/wireless-nes-controller-usb-finished. Check out the video here or on this page. People have been asking about commission builds, mainly for the game boy fridge. I would like to announce that I am open for commissions! It might have a waiting list, but contact me through the contact page and we can get the ball rolling. Whether it's a game boy fridge, or something totally different, contact me and we will talk! After a lot of working for about three days, at about three hours a day, I have a working fridge that looks like a Game Boy. This idea came to me when I saw something sort of similar online, just a decal for a fridge that looked like a Game Boy, and I looked over at my mini fridge and decided I could build one my self, that is also functional. I found all of the parts, and then decided to do it. The reasoning for the timing of this build; the middle of the 2015 BitFix GamBoy Classic Competition, when I already had the Game Boy Color Advance as an entry,is that I wouldn't be able to be finished in time, so I still wanted an entry, and have all the time I need to finish the other project. The Fridge is a functional mini fridge, with a custom door that looks like a Game Boy, and functions. Powered by a Raspberry Pi, this Mini Fridge will be a conversation piece for my dorm room, and one day my man cave. Here is a link to the work log I created the buttons out of wood by cutting the basic shape on a band saw, then using a belt sander in a vise (Since my floor belt sander hasn't gotten its new belts, I ordered over 2 months ago; they said it would be 7 days) I shaped them. The wooden buttons actuate tact switches, and these are wired up to an old USB keyboard, they are their respective key, escept Start is Enter, and Select, is BACKSPACE. I created the screen section by cutting a large hole in the fridge, and mounting the front bezel of the screen into the hole, then mounting the screen its self. All of the wires run down a channel in the insulation and out the bottom right beside the hinge, then run to the back of the fridge where the PI is held, I would have mounted the PI in the door had I not worried about both condensation, or wanting to change it for another computer some day. With this design, I can use any computer with a VGA output (The PI has an HDMI to VGA converter) and USB ports. to keep the cold in, I used loose fiberglass insulation to pack behind the channels, and hoes in the insulation. I got two of the paints from Home Hardware choosing paint colors and getting them to mix a sample paint can for me, the red I mixed my self and the black I have. If I ever paint on the decals (No real intention for that right now), then I will also have to mix a blue. The Pi is loaded with a 16 GB Class 10 SD card, so its very fast, and it has RetroPie on it, which is an easy distro with emulation station. A future project might change this out for something new, but I'm keeping it more or less a secret for now. As far as game play goes, it functions as a Game Boy, but is so large I found myself basically punching the buttons, they press well (other than the right key, its a bit stiff at the moment), but since they are so far apart it make game play a bit awkward, also, you have to sit on the floor to play it. Anyway, enough talk here is an embarrassing video of me demonstrating it. It has been awhile since I have made a new post for my Game Boy Color Advance, but that doesn't mean that I haven't been working on it! I have mainly been working on the back of the case. With the help from a guide at BitFix I have been using Acetone to melt and reuse plastic. I basically did the same thing with the front, cutting the pieces, gluing them, then filling in any parts that were missing, only this time, I filled then in with plastic. Soon I will make screw holes, and then attack the two halves together, get the back the exact same shape as the front, then make them have a proper lip to fit together, then put in the electronics, then take it apart, sand, and paint! Here are some pictures, keep in mind that I have just been applying the plastic, I haven't started to really shape the outside yet. 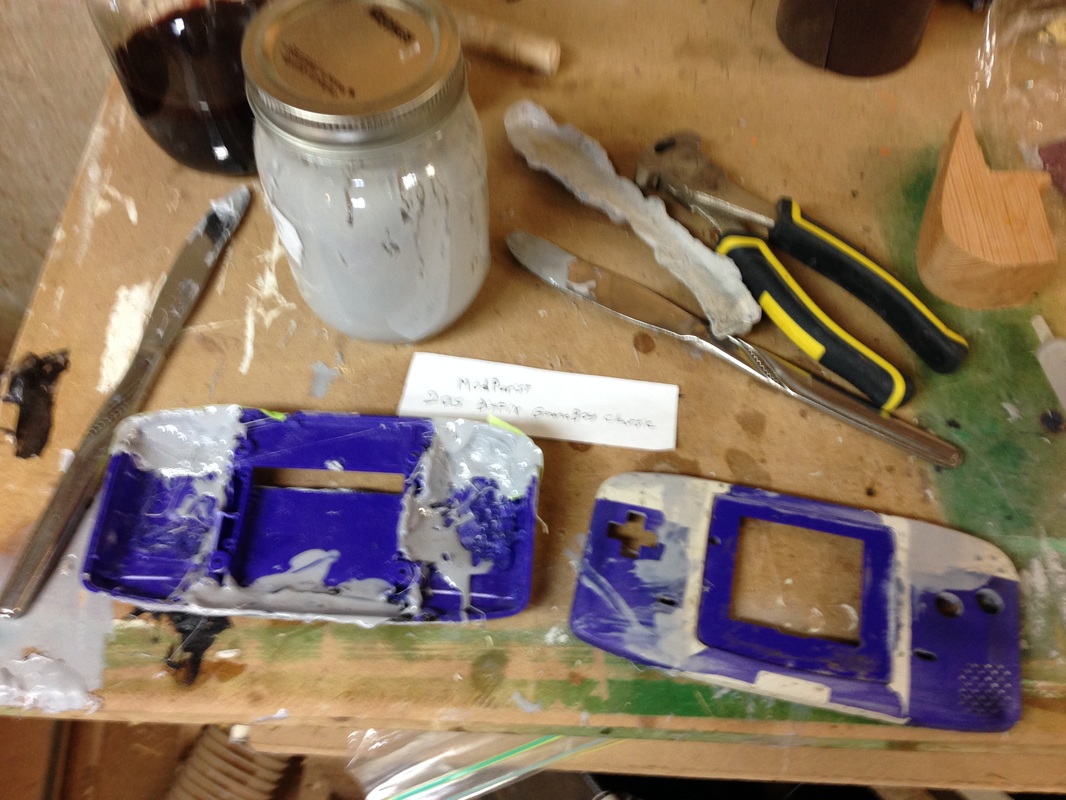 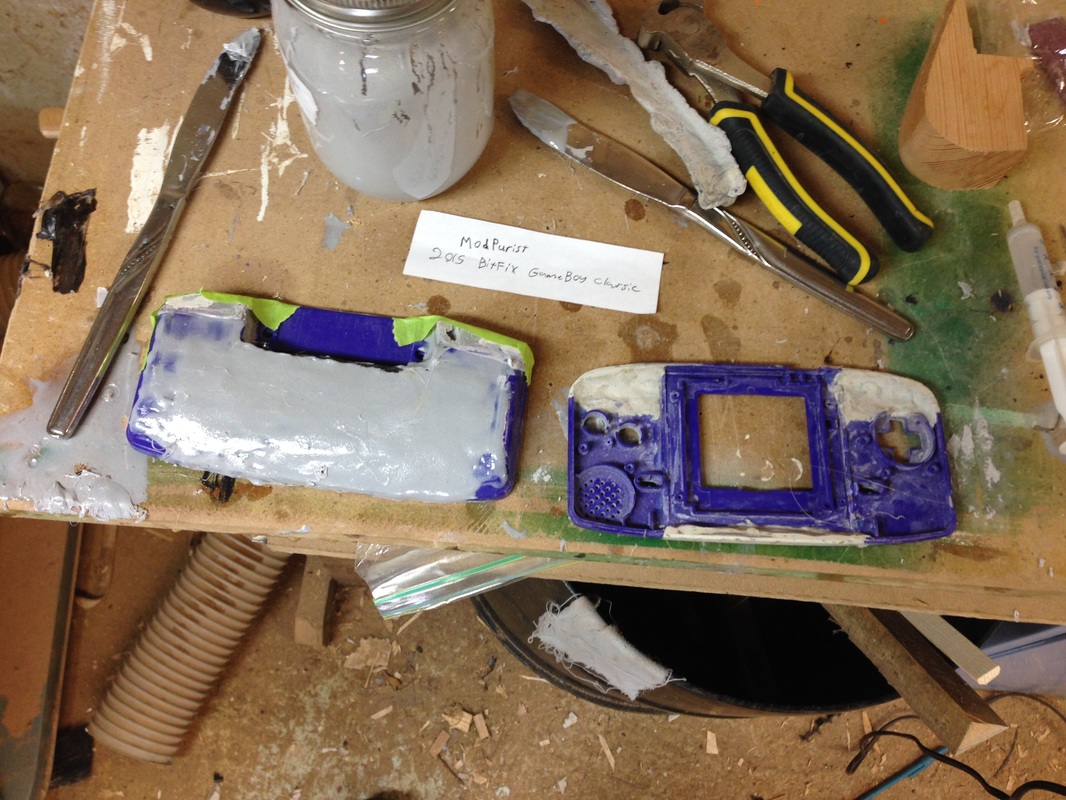 I was recently in a discussion with a fellow modder over at BitFix about making a logo for the carrying case of his mod, I suggested an acetone transfer might work, but at the time I had no idea what the process was, so I looked into it more. I found out that its pretty easy and can result in very nice prints. Here is a simple run through of how to do an acetone print transfer.  I have just gotten back from A mission trip to Paraguay. I have learnt a lot about them, their culture, myself, and God while there. They are a very interesting people group, they love sugar, and they all have many dogs, there are almost more dogs than people there. It was definitely a great trip.  This is a picture that I took of the Paraguay River. We did ministry there spreading the Good News of God to the people. It is true that they are very poor in Paraguay, but what they need most isn't clothing or food, it's the Gospel. They have some interesting foods such a fried fish that they fry enough you can eat the whole thing bones and all. And empanadas which are basically an egg roll with a few differences. They also drink Terere and Matte a lot, a cold and a hot type of tea. The culture is a warm one, where they are very nice and huggy, like other cultures they aren't always like this, but for the most part they are. But what I learnt most of all, is that it doesn't matter what we did while there for them, it doesn't matter that we build a set of cabinets, and that we chopped large trees town to prevent them from falling on to their power lines. But what matters, is that us, as North Americans were willing to spend our time to go and do ministry with them. We didn't go and go our thing, we went and did their thing. We spent time with them and built relationships with the people. That's what really mattered. People will ask, "why not just send the money?", the answer is simple, it's the fact that they will always need money, but what they want more is for us to go and be with them. The main missionary was surprised when we asked him what he thought of people asking that question, he thought it was rediculous, obviously he wanted us to go rather than only send money. This trip thought be as well, that it doesn't matter who anyone is, they are still people, and God loves them the same, So we need to go love them with Him. Here are some more pictures of the area and some scenery. 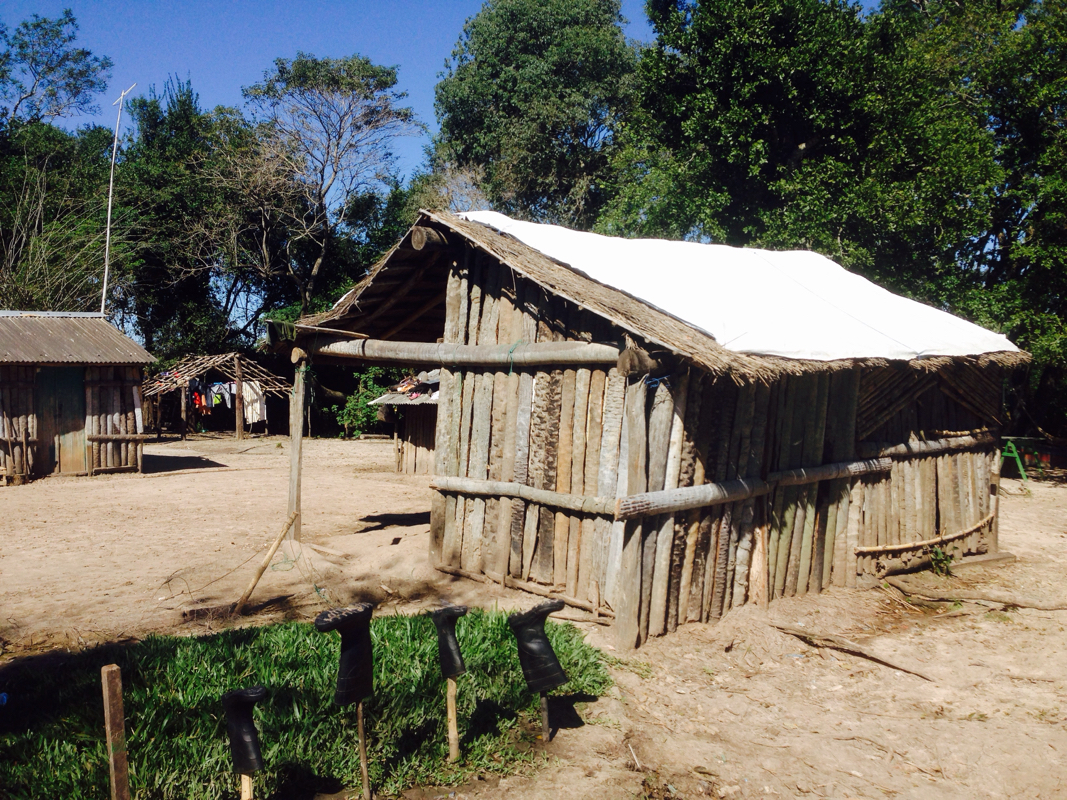 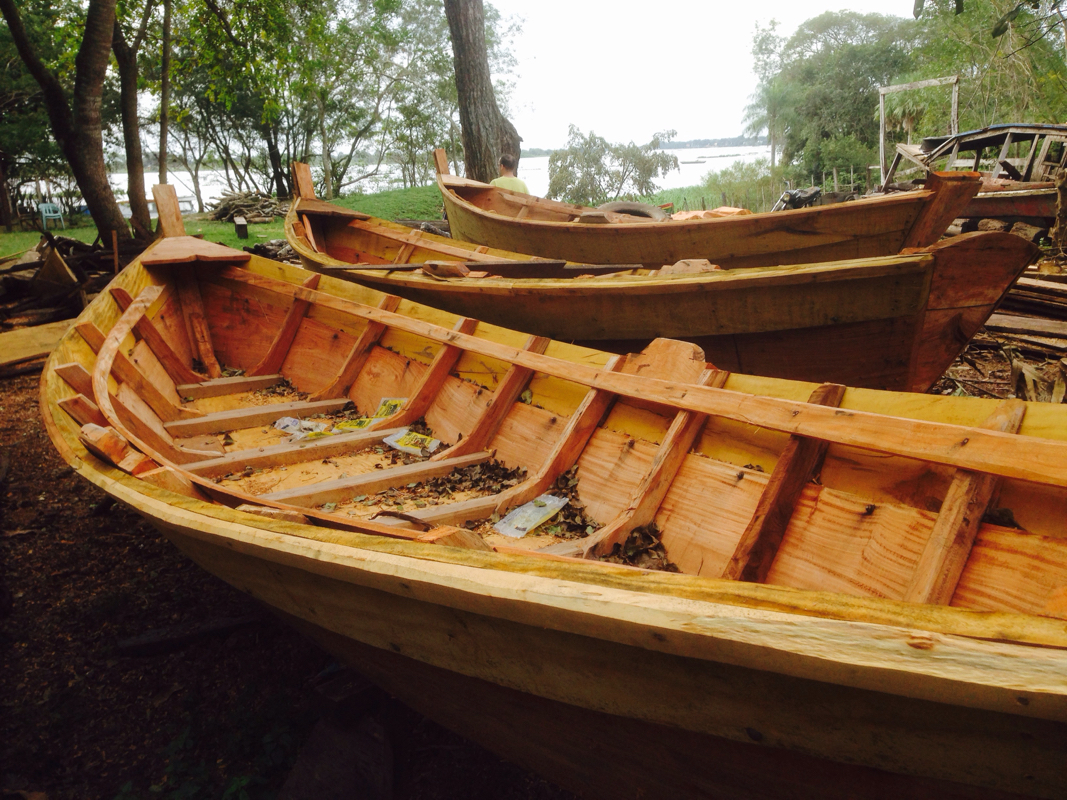 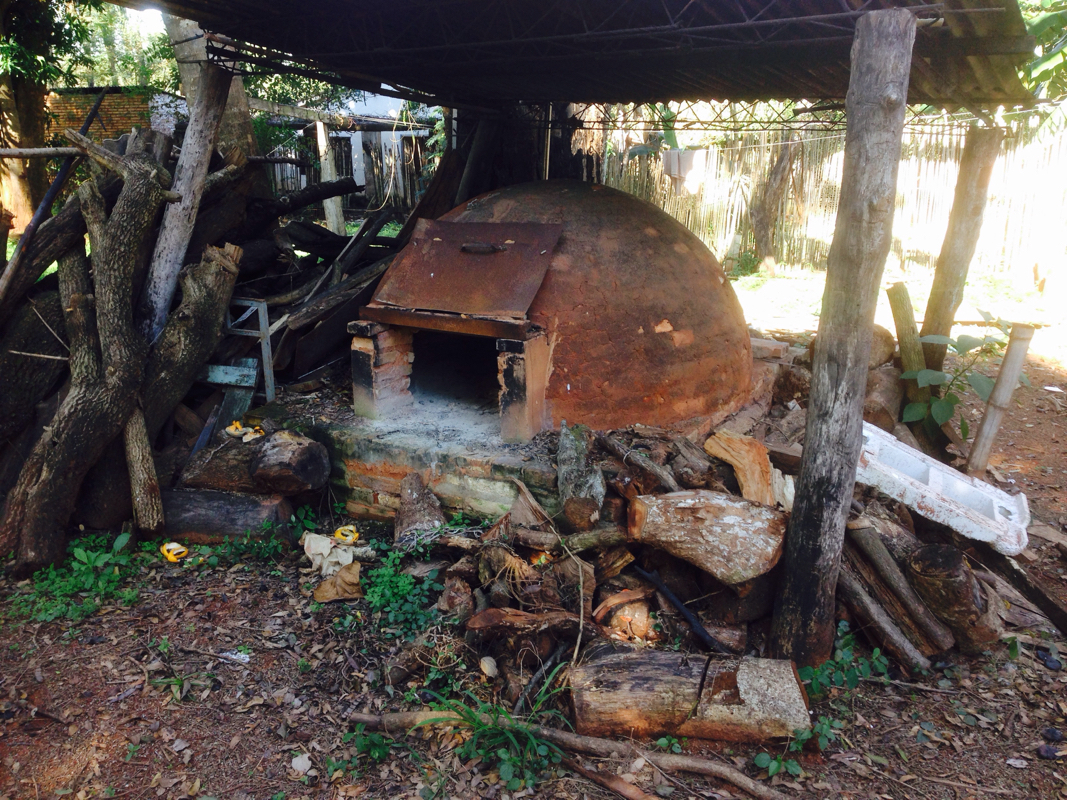 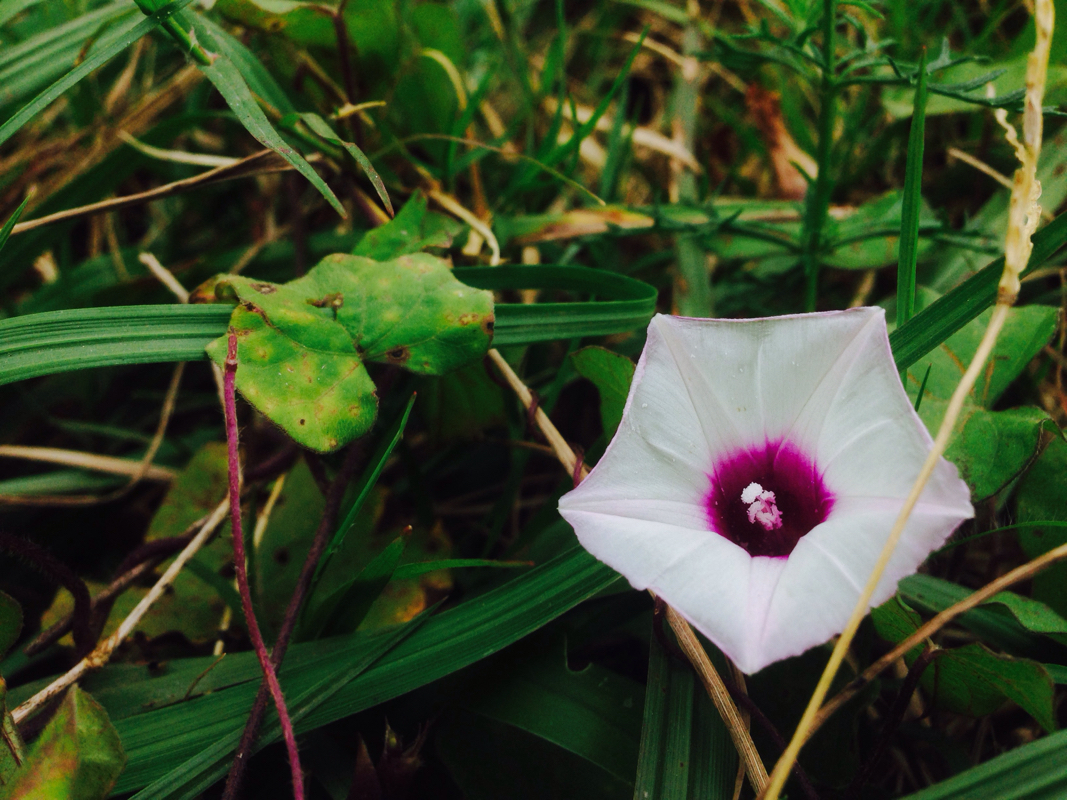 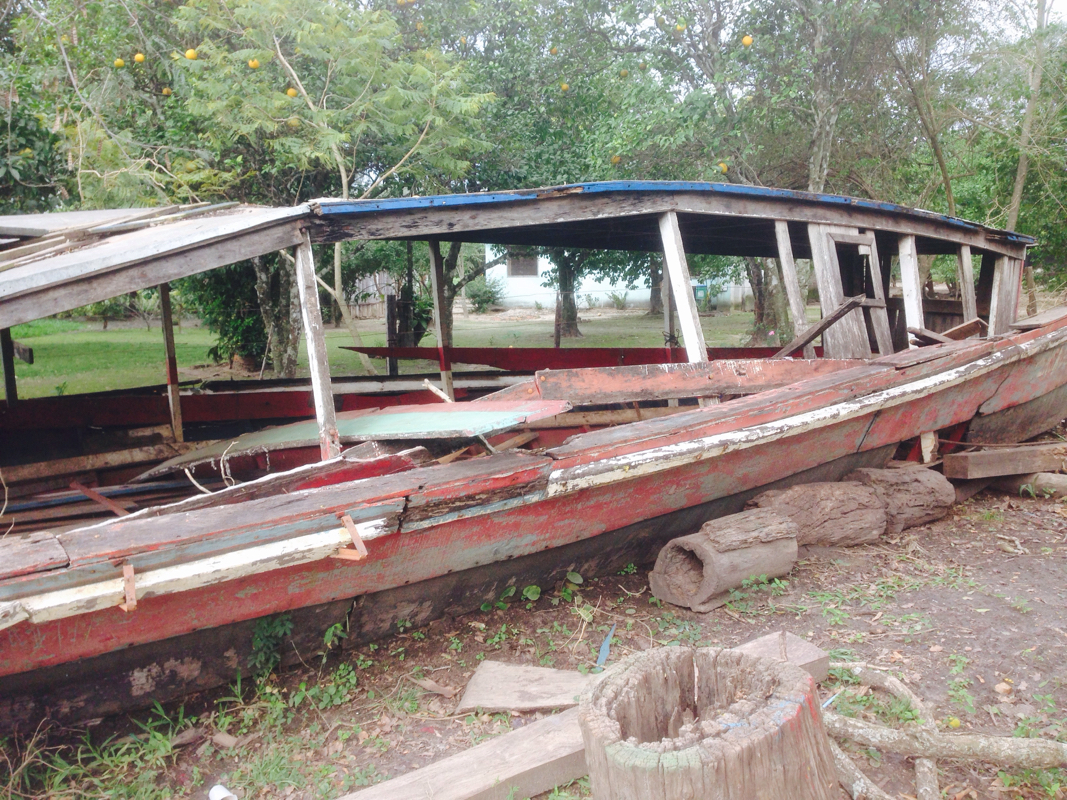 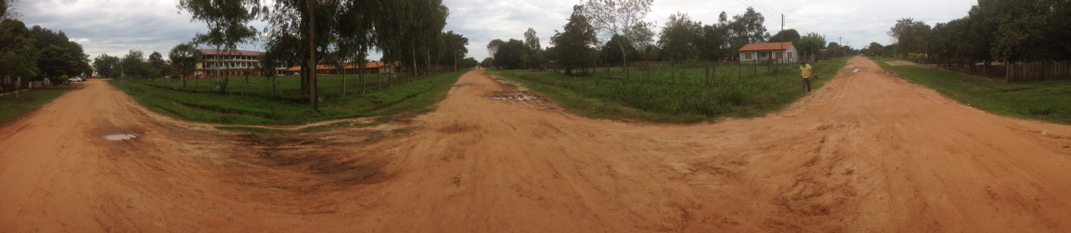 |
AuthorDaniel d'Entremont InterestsArchives
January 2016
Categories |


 RSS Feed
